Are you researching how to improve the ventilation and energy efficiency of your container home or workspace?
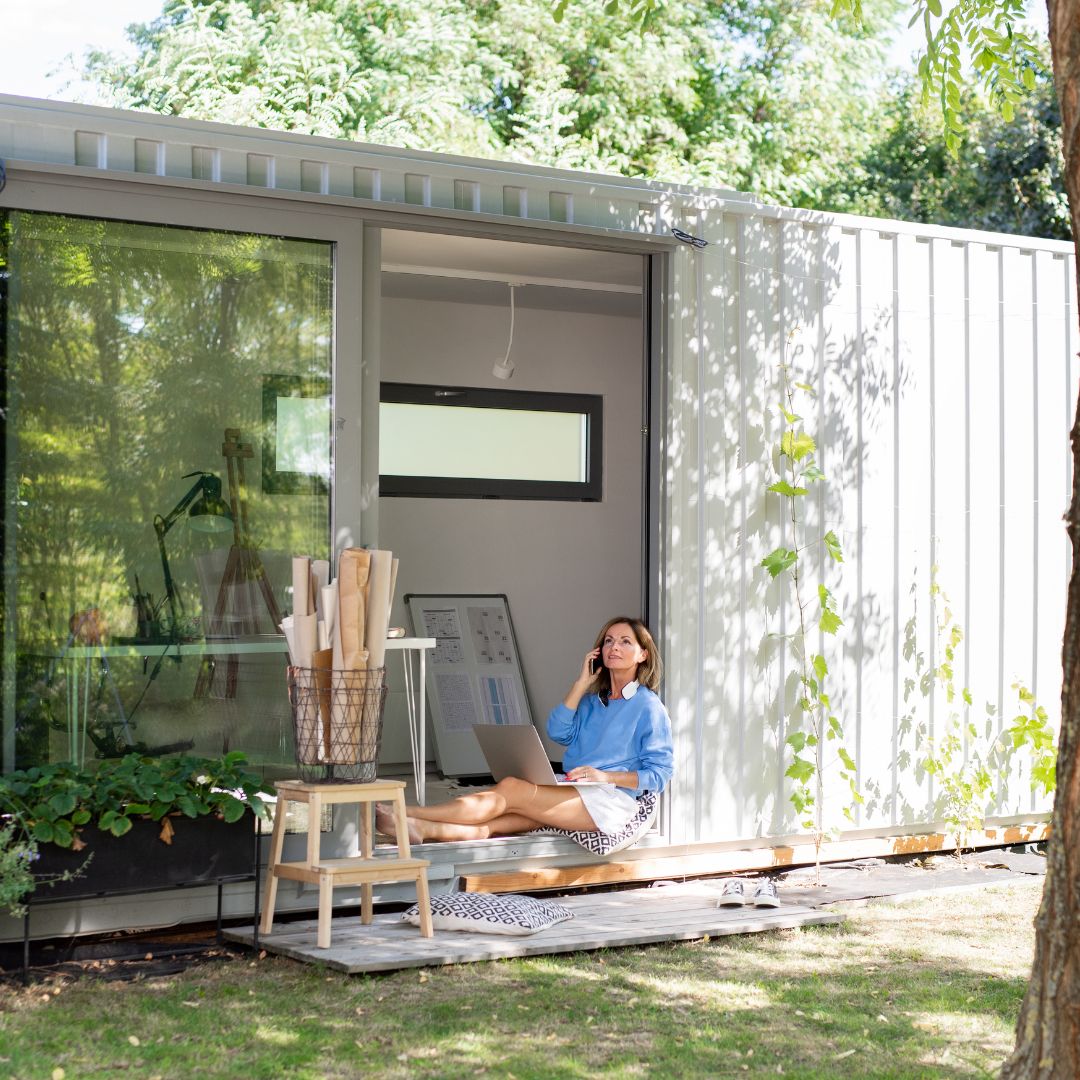
One of the most common reasons why so many people in Australia are choosing to design and live in container homes is affordability. But something that is often overlooked in a lot of container home designs is providing an effective solution for ventilation.
Many container home designs ensure that there is suitable insulation, but due to tight budget constraints, providing adequate ventilation is not part of the plan.
For this reason, many container owners are searching for a satisfying answer on how to install a whirlybird on a container.
This how-to guide will help you identify which are the best whirlybirds for your container, as well as helpful suggestions to assist you in getting the best value for money.
Why Are Whirlybirds So Important In Container Homes?
Containers are designed to be airtight. As they are designed to travel long distances over the sea, airtight construction is essential to ensure that the materials are not damaged in transport.
When a container changes its function to be a place of residence, the airtight design can actually cause severe problems. If you are cooking in your container home, where does that moisture that is created go? The steam that is created in even lukewarm showers needs to go somewhere. Many tiny homes created in shipping containers have major mould issues because there is not enough airflow.
Additionally, during severe heat waves, the metal construction of a shipping container can turn your tiny home into a heat trap.
By installing a Whirlybird, you can not only assist in the exhaust of deadly fumes and heated air, but you will also prevent mould and rust from excessive humidity in the residence.
How To Install A Whirlybird On A Shipping Container
1. Identify The Location
Before you consider cutting open your container to install a whirlybird, you need to recognise that cutting or opening up a container reduces the structural integrity of the container. Consulting with a structural engineer will allow you to not only identify the best location to install a whirlybird on your container home but also manage any reinforcements that may be required.
Once the ideal location has been identified, then it is time to follow the essential construction principle – measure twice cut once.
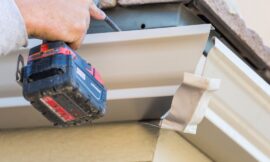
2. Create The Opening
Personal protection is essential. Consider all risks before you start the project. There will be sharp edges, sparks and metal shavings, so make sure that your hands, eyes, ears and face are protected during the cutting and installation process.
Considering that the majority of readers of this article will have experience completing many other tasks in the design and construction of their container home, we will assume that you have the necessary skills and equipment needed to create the hole in your container.
3. Install The Whirlybird
Once you have created the hole for installation, you can then secure the flashing panel and collar onto the roof. Creating a waterproof seal is essential.
Check the seal of the flashing on the roof to make sure that no water can enter.
Place the rotor head on the collar, making sure that there is a clean attachment.
Make sure that the head of the rotor spins evenly. Check from all angles that the head is vertical. Adjust the screws on the collar if the head is not vertical.
NOTE: Manufacturers recommend that only trained professionals install whirlybirds due to the risk of injury or failure to create a properly waterproofed seal. All installers should hold a roof plumber or builder’s license. Suppliers and manufacturers will not take any responsibility for poor installation work if their products are not installed properly.
If you can not safely create a hole in your container or provide a professional waterproof seal, engaging the services of a licensed tradesman will ensure that you do not void the warranty of the Whirlybird.
What Is The Best Whirlybird For A Container?
There is no shortage of roof ventilators and whirlybirds on the market in Australia. From state-of-the-art powered whirlybirds to absurdly cheap imported versions. So, what is the best whirlybird for a container?
When you research tiny home forums and communities, one whirlybird keeps coming up in conversation: Twista Whirlybirds.
Made in Australia, Twista Whirlybirds strike the perfect balance between design, function and value for money. Despite a relatively low cost, these innovative roof ventilators are constructed from premium quality materials.
The unique design of Twista whirlybirds ensures they provide adequate ventilation even when there is no wind. There are powered versions that also provide this option, but the Twista Whirlybird does not require electricity!
In addition, the 420mm diameter size provides excellent performance on even the hottest summer days.
Who Is Twista Whirlybirds?
Based in Western Sydney, Twista has been designing, testing and manufacturing roof ventilation systems for over 20 years. With countless design iterations, the Twista research and design team has continued in the quest to provide Australian property owners with the very best value-for-money whirlybird design.
Using premium quality components and high-grade materials, Twista has developed what is widely regarded as the king of the whirlybirds.
The unique twin steel bearings in Twista Whirlybirds ensure they operate silently during even the most intense wind conditions. Unlike inferior quality roof ventilators that use plastic bearings, Twista Whirlybirds are a premium quality ventilation system that provides high-level performance and durability.
Would you like to get the very best deal on a Twista Whirlybird?
Visit the company website to discover a range of amazing discounts that the company offers, as well as installation options throughout the East Coast of Australia.
Address: Ingleburn NSW 2565 Australia
Phone: 1300 797 714
Website: https://www.twista.com.au/

